榴莲千层的经典做法介绍
锦晖分享
爱吃榴莲的人,你可不要错过这款有榴莲加入的点心哦。在蛋糕的位置里边,它也占据着很重要的位置。以下是学习啦小编为您带来的关于榴莲千层的做法,希望对您有所帮助。
榴莲千层的成品图
榴莲千层的食材
榴莲千层的做法步骤

1. 鸡蛋打散,不要打发
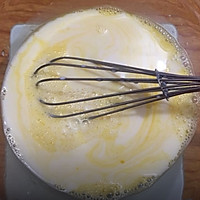
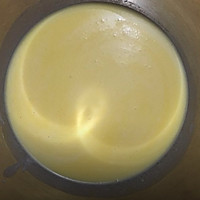
2. 加牛奶拌匀
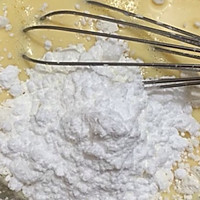
3. 加入低粉、玉米淀粉、糖粉拌匀,有颗粒没关系,稍后要过筛
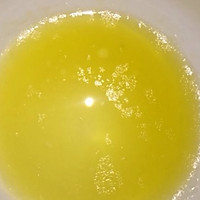
4. 黄油隔水溶化,加一勺面糊,充分拌匀
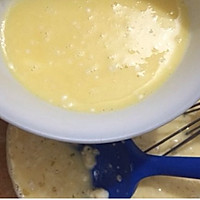
5. 倒回面糊拌匀
6. 面糊过筛
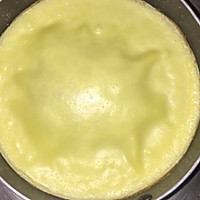
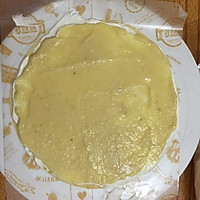
7. 不粘锅加热,离火加入一勺面糊,将面糊均匀覆盖锅底,中小火加热。饼皮涨起代表已熟,每加一勺面糊都要离火,面糊覆盖好再上火
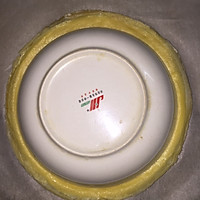
8. 全部做好后油纸包好,入冰箱冷藏半小时。不用每张皮都隔开,因为皮有油能防粘。冰箱取出面皮用直径小于饼皮的碟反扣在皮上,然后用刀裁出圆形。
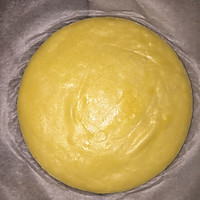
9. 裁好的饼皮,要每张小心撕开淡奶油加糖粉打发好,榴莲肉用料理机打成泥,两者都可入冰箱冷藏1小时再用,否则会边抹边溶

10. 一层面皮一层奶油
11. 一层榴莲泥,然后要重复:饼皮、奶油、榴莲泥。也可以一层饼皮奶油,一层饼皮榴莲。叠完后四周用抹刀抹平奶油。冷藏2小时以上
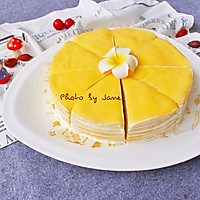
12. 成品
榴莲千层的做法相关文章: